
Shop Project: Volvo 245 1987 1UZ VVTi

As in previous Volvo 240 engine swaps for myself or others, we are using the Lexus/Toyota 1UZ engine. This time, however, the 1UZ VVTi engine with as much as 300hp and 440nm of torque!
But let’s start at the beginning…. This Volvo 245 with slight rust was purchased as a cruiser for weekends. The USA Front gives the Volvo a real retro look, the interior was very tight and otherwise it drove fine with the B230F. However, the pleasure was short-lived as it soon became clear that the insulation of the wiring was crumbling everywhere and the B230F engine was no longer feeling like it after 2 months….

Recharge, sell or swap?
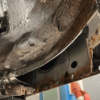
The wiring harness is a potential fire hazard and to fix it basically requires taking everything out. Of course, you don’t know what else is hidden behind the dashboard or the protective cover of the wiring harness. No doubt the engine could have lasted many more years after some repairs but the performance was quite disappointing. Also, the bit of rust on the bottom turned out to be “a little” more than expected; all 4 bottom plates rusted through, sill rusted, trunk rust in several places and the paravan.

Sell it? In this condition, the Volvo will fetch pretty little and most likely go to press…. Shame! Buying a decent one is also quite expensive these days so we’ll keep it anyway.
Pulling the entire Volvo 245 bare bones, taking everything out and starting all over again was really the only good solution in my opinion to make it a reliable car and modernize all the technology at the same time.
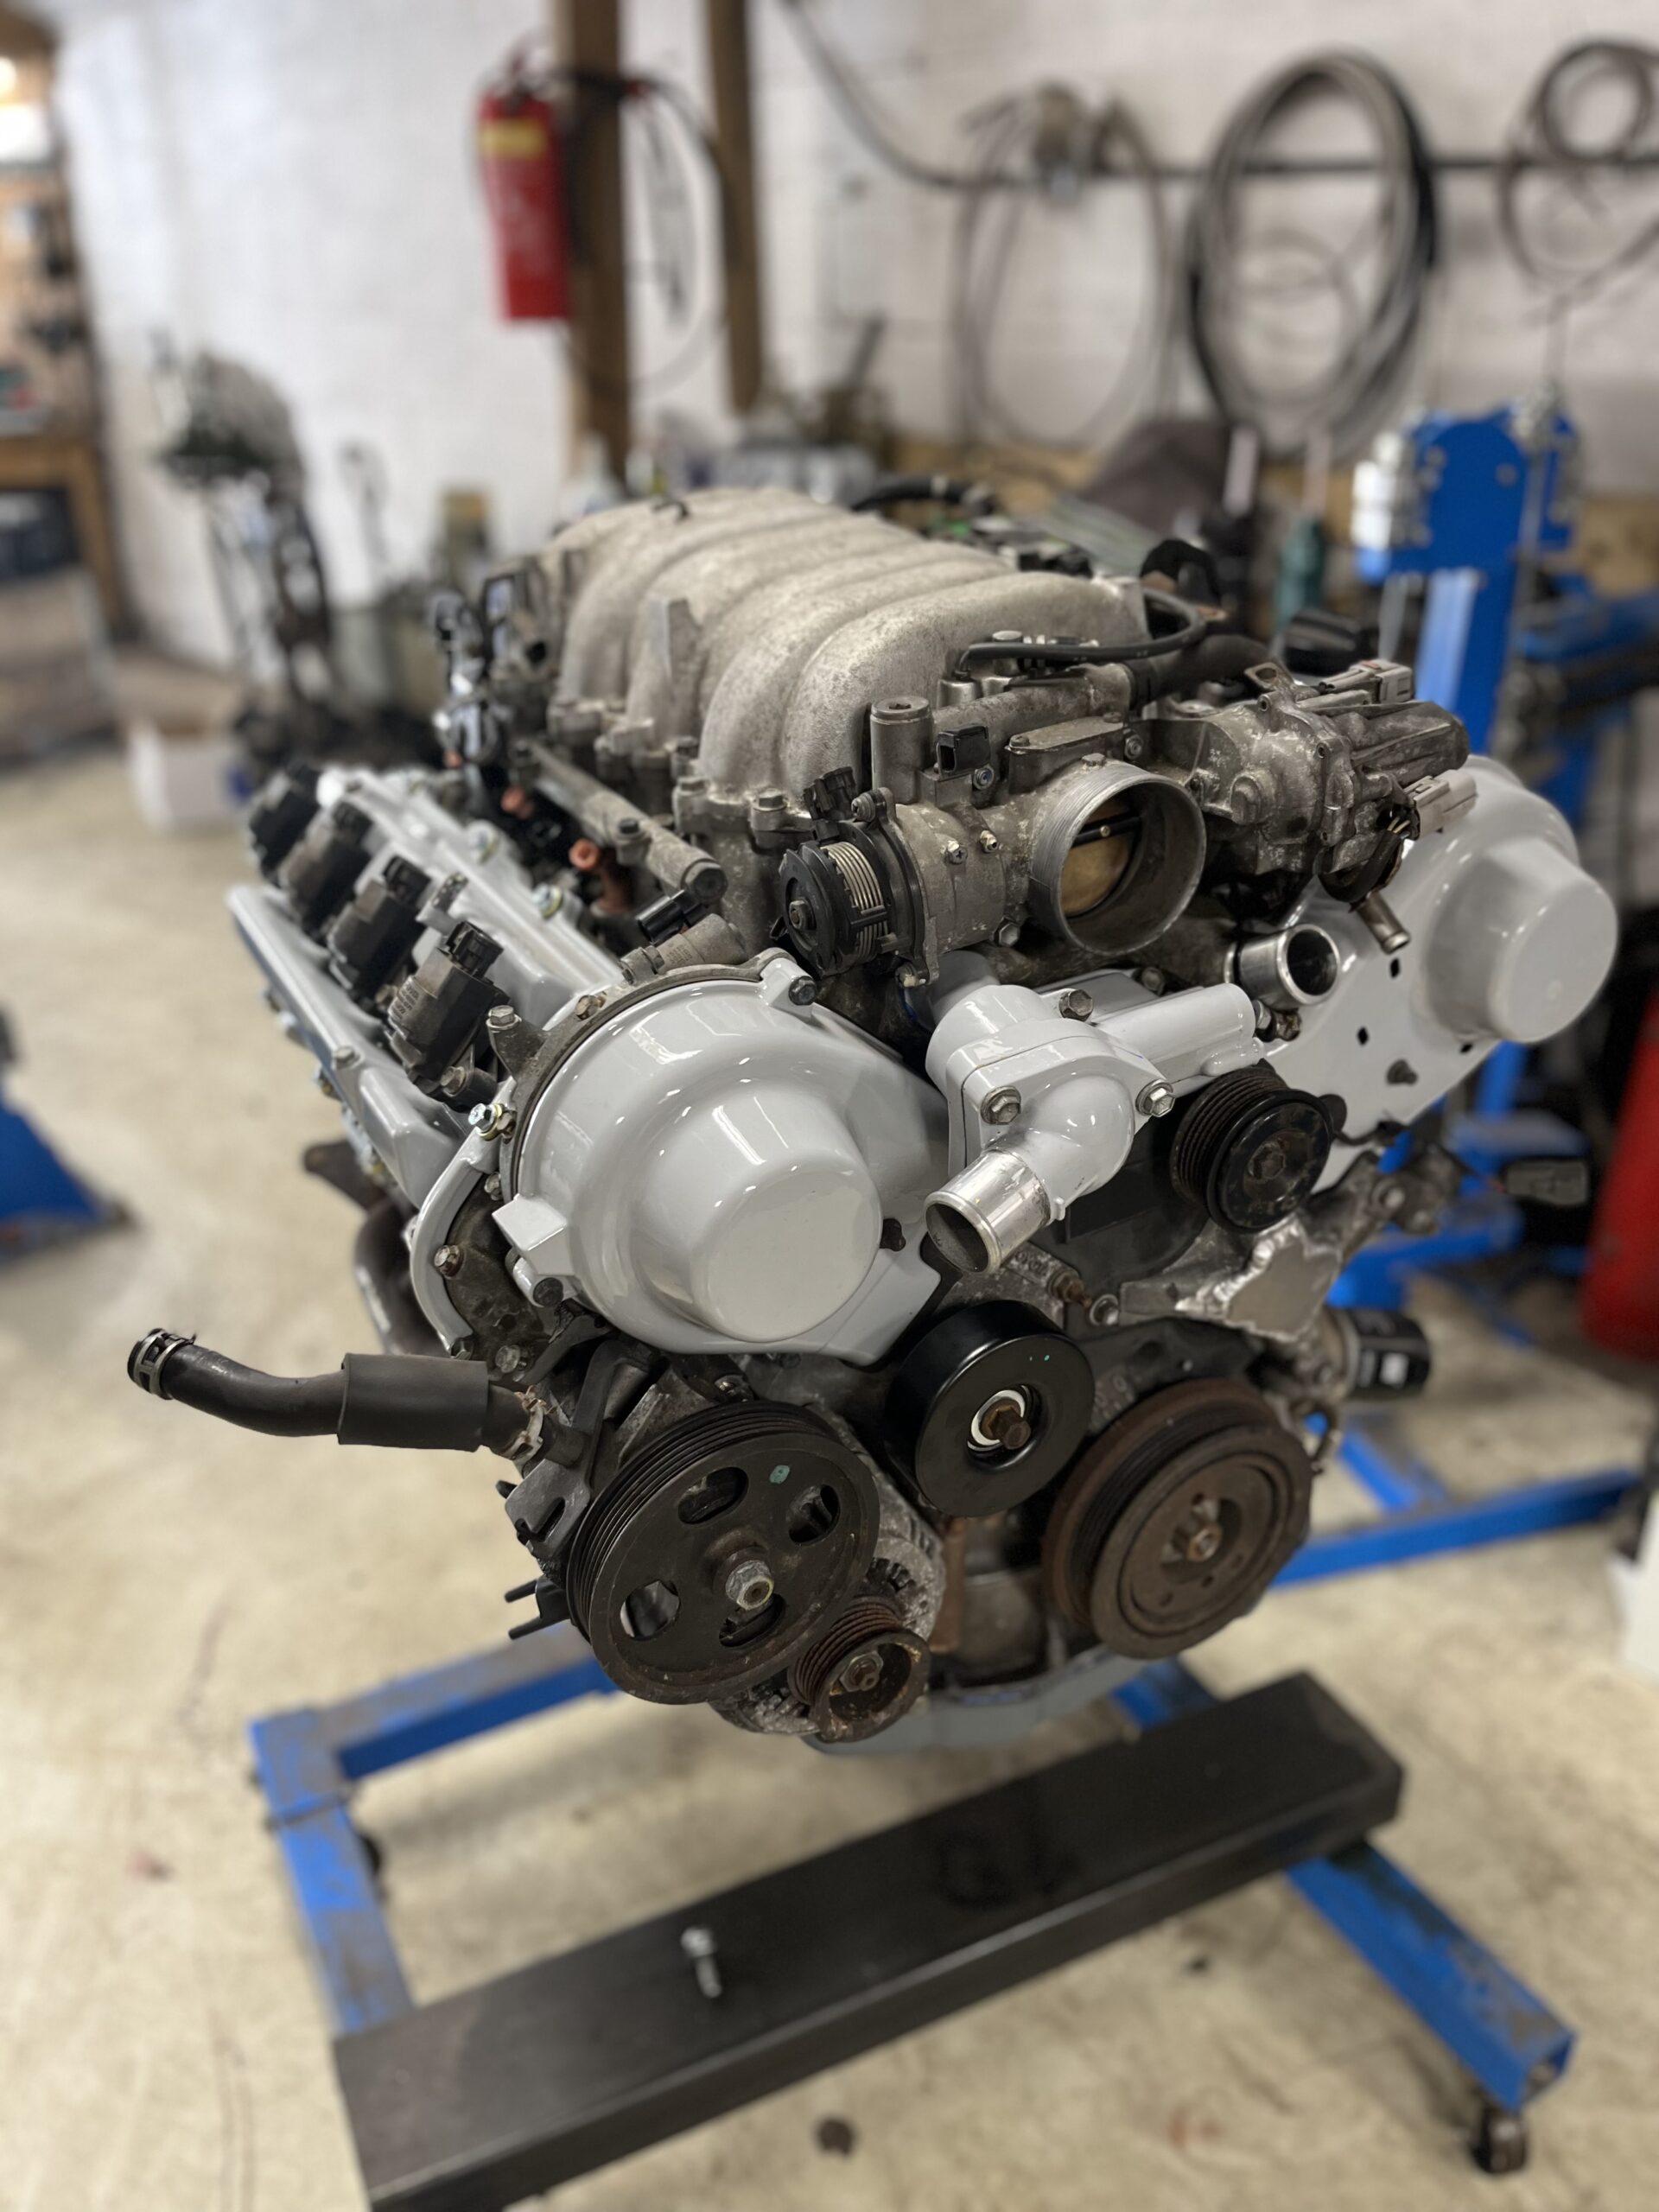
1UZ VVTi
The choice of engine was quickly made. A 1UZ VVTi engine with 300hp and 440nm of torque. Why? In terms of reliability, the 1UZ engine is similar to the B230 engine, they can get astronomical mileage and have fairly few ailments. However, the big advantage of the 1UZ is that it is a much more modern engine and of course has 4.0L capacity and 4 additional cylinders.
The 1UZ VVTi engine is the most powerful variant in the 1UZ series. Should you want to turbocharge it, it is wise to choose the less powerful 1st gen 1UZ. This one has thicker connecting rods than the newer generations.

They are starting to become a bit scarcer these days so the search area had to be drawn wider than the Netherlands. Soon a relatively neat 1UZ VVTi engine was found for the Volvo 245.
With an engine purchased separately, it is always advisable to purchase a gasket set, timing belt set and water pump and perform a major service right away to avoid surprises later.

After the maintenance work was done, some welding done to remove one of the orbital rollers for better looks, the sump pan also had to go. To make the engine fit i.c.m. with our Plug and Play engine mounts, the front sump must be shortened so there is enough room for the steering rack. To continue using the stabilizer bar, a Volvo 260 version was purchased which is a lot deeper and runs under the sump pan.


The eye wants something, too. The valve covers and various other attachments were taken to the powder coater for that reason.

Wiring harness for the 1UZ VVTi
This swap also chose to use the original ECU. Normally, for diagnosis in a swap, it is often recommended to use a standalone ECU from Motorsport Electronics or ECUMaster, for example. However, the 1UZ VVTi ECU has an OBD2 port in the wiring harness which makes it easy to read all the values and diagnosis will also be easy.
The wiring harness was outsourced to Phoenix Engine Management in the UK. Chris (the owner) does nothing but fabricate wiring harnesses for these engines. When you start counting the hours and materials it is a “no-brainer” to send the old wiring harness to him and get a plug and play wiring harness in return.
Above is an explanation of no less than 1 hour with all the ins and outs about the wiring harness in question made by Phoenix. After assembling the wiring harness, energizing the proper wires, I started the engine on the ground and checked it for operation.
At the time of purchase, it was chosen to use the original 5-speed Toyota/Lexus automatic transmission. The plans for this have changed slightly and probably a modern BMW 8-speed (ZF 8HP) automatic transmission is going to be fitted. More on this in another blog….
Nice piece of info regarding the “8HP Swap”
Interior wiring harness, 2x ECUMaster PMU and 1x ECUMaster ADU
Since the cabling under the hood was completely decayed, and in the interior there were mostly terminal blocks used, it was decided to pull out all the cables from the complete interior and make everything from scratch myself.
Our website features several great products from ECUMaster. Not only ECUs but also a PMU (Power Management Unit) and ADU (Advanced Display Unit) is in ECUMaster’s range. A PMU16 from ECUMaster replaces all the fuses and relays in a car and switches everything digitally with mosfets. Because this can be programmed with a computer, the possibilities are endless!
Example:
As an analog input you connect a fuel pressure sensor to the PMU, there are also 2 fuel pumps connected to 2 separate outputs. Fuel pump A is the main pump and fuel pump 2 is the backup pump. You can set pump A to control fuel delivery as soon as the ECU requests it or the PMU sees an RPM signal. If pump A is running and the fuel pressure sensor sees insufficient fuel pressure then the PMU can automatically turn on pump B as well to still achieve the correct pressure.
Also, the PMU has a built-in G-force meter. This allows you to set the G-force at which, in the event of an accident, the entire car is disconnected from power, shutting off the fuel pump and any other things that cause fire.
A much more detailed explanation of a PDM/PMU can be found below:
In order to use enough input signals and retain almost all of the Volvo 245’s OEM functions, two PMU 16 from ECUMaster are required. Each PMU gets its own wiring harness, and between them they can communicate with each other via CanBus.
First, all the consumers in the car were mapped out in order to determine which wires to pull, their thickness, which Deutsch connectors to order and what the correct pin-out is going to be for the PMU.
Then a complete wiring harness for the rear of the Volvo 245 was made with rope. By using rope to label everything, positioning the branches in the right place, making the actual wiring harness is many times easier.


To maintain the original functions of the steering levers, all signals were measured through with a multimeter and noted in Excel. With the PMU, there will no longer be 12V running through the switch/lever but the PMU will see it as a ground switch. The big advantage of wiring it this way is that each signal comes to a separate input of the PMU and you can assign a function to it in the software. Should you later wish to assign a different function to the lever, this can easily be done in the software and you do not need to modify anything in the wiring harness.

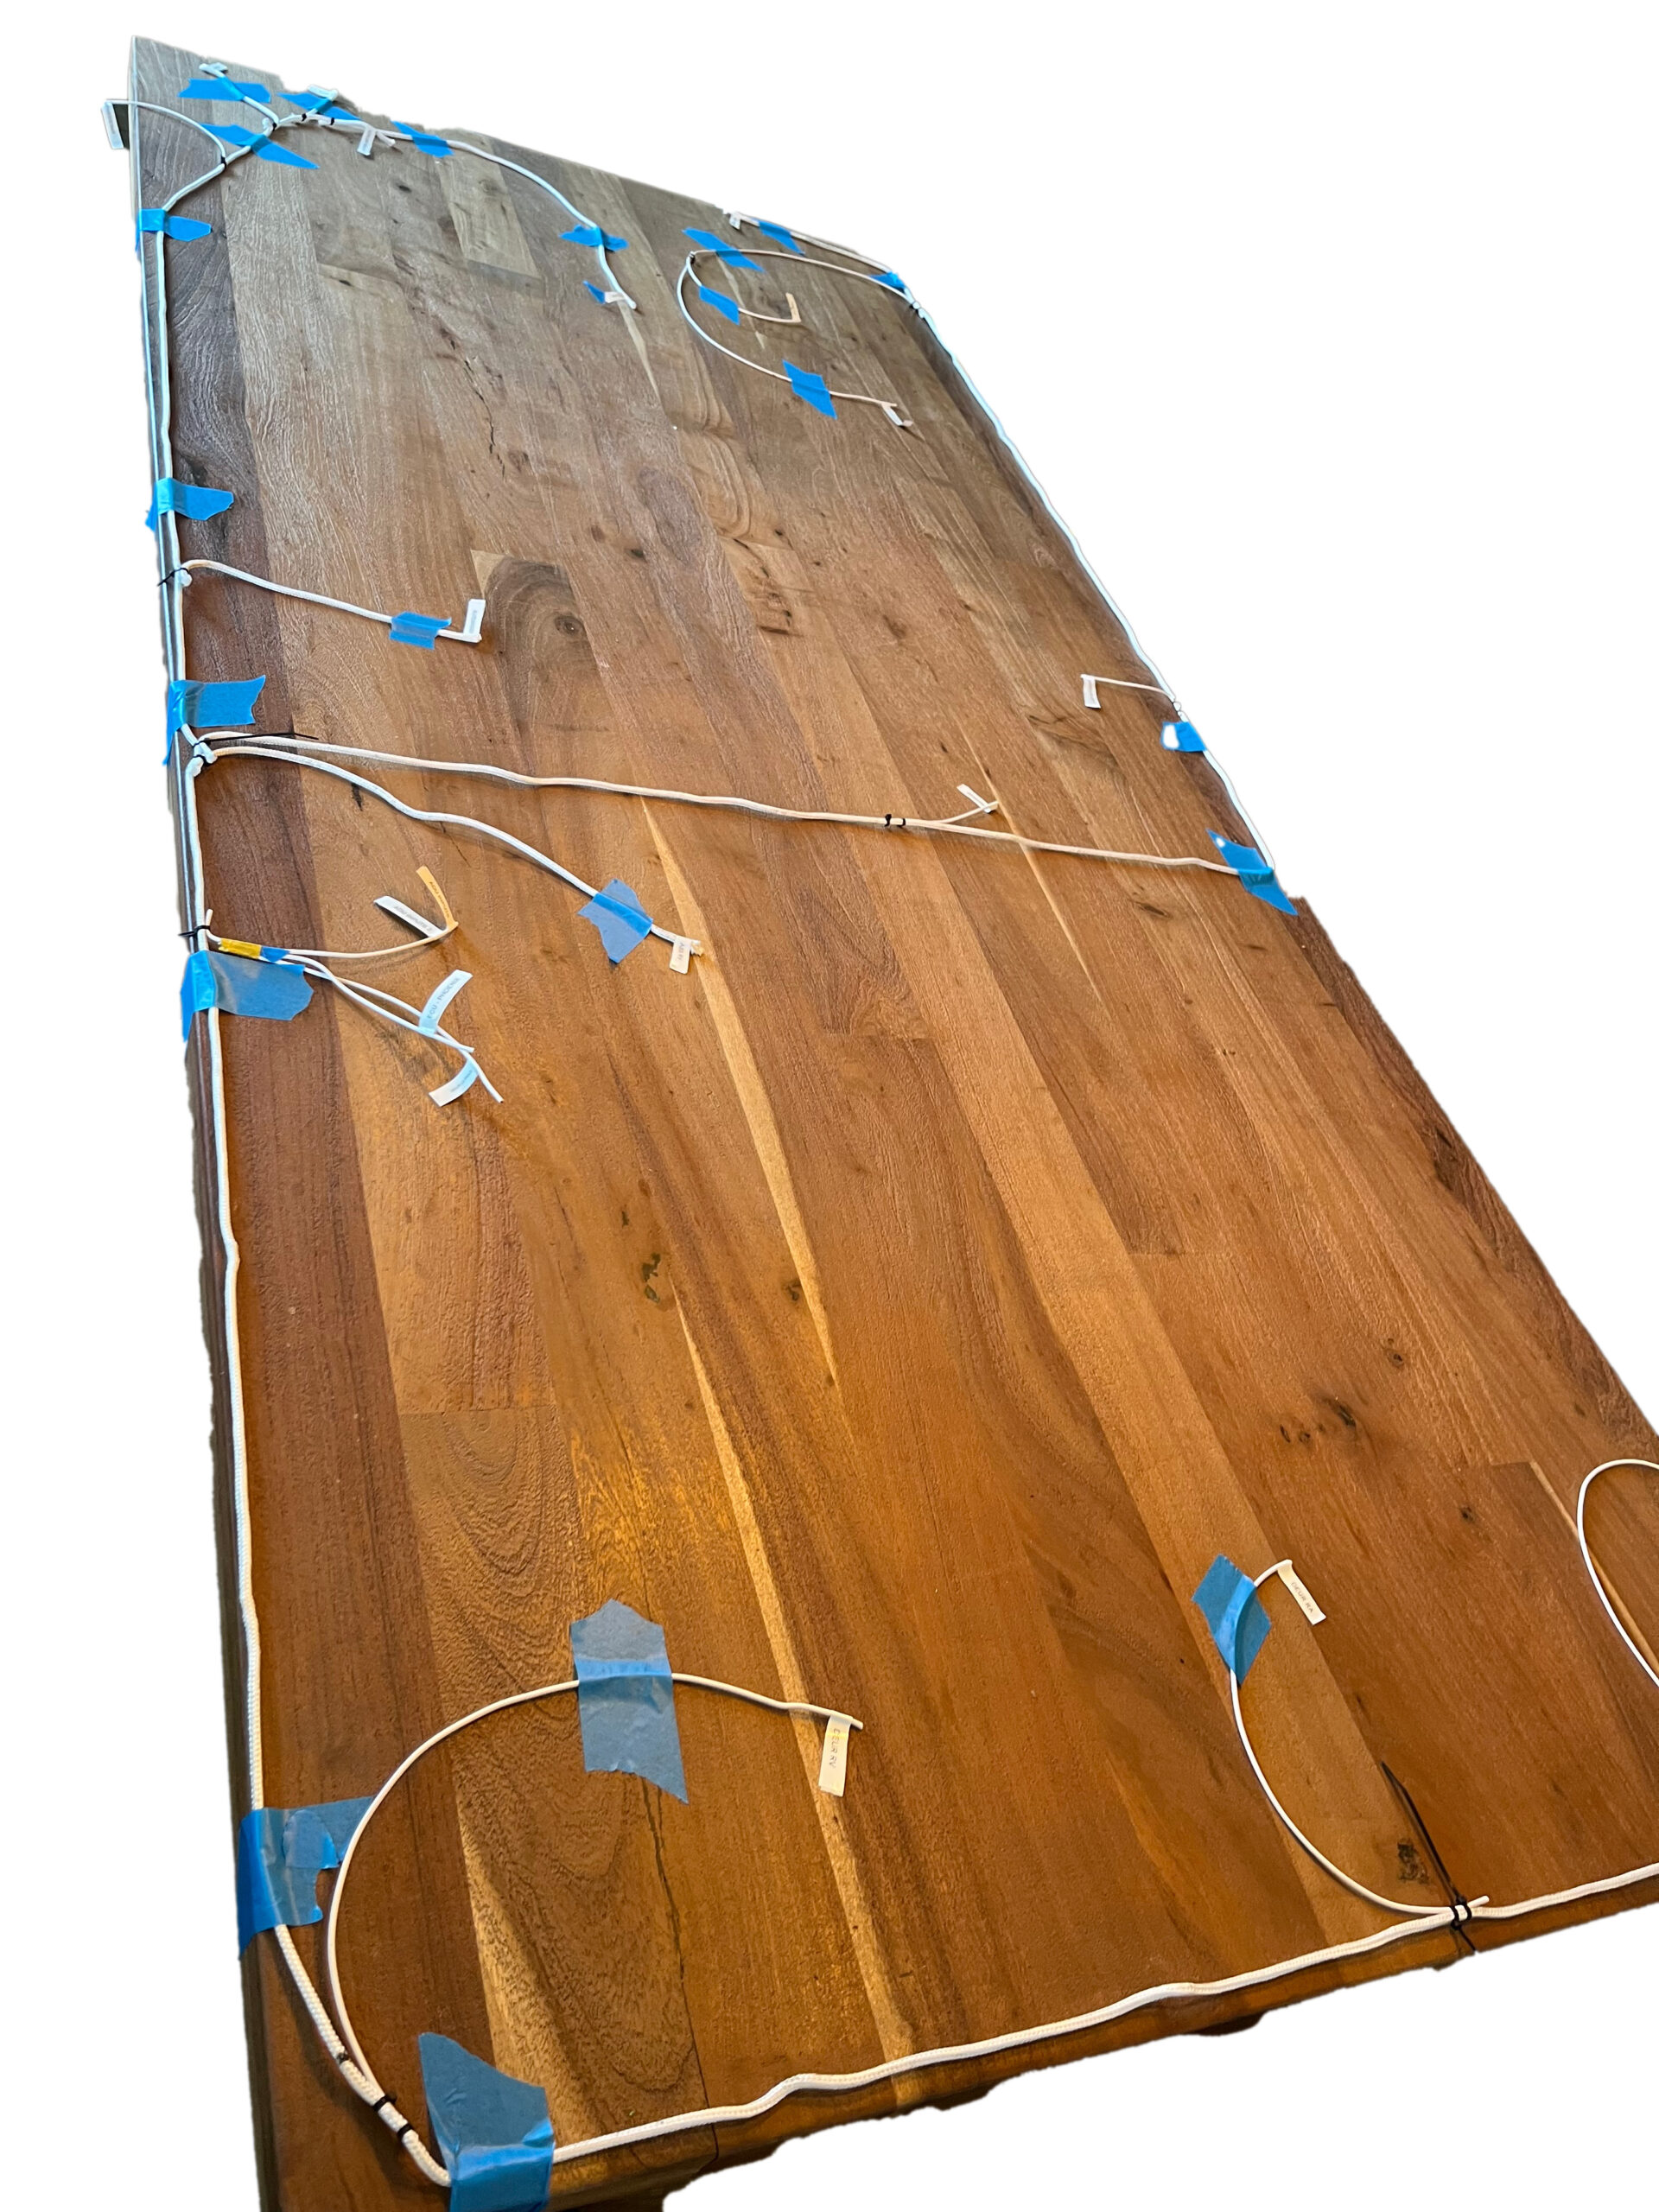
Once on the table, there is a little more overview of the wiring harness again and the making of the wiring harness can begin. When laying all the cables, I am constantly using the Excel spreadsheet that shows how many cables are needed per branch, what the cable thickness should be, the function and which pin it corresponds to at the PMU.
Interior cables are bundled with Kapton tape and then protected with Tesa Fleece tape. This is a tape you see a lot in modern cars. It protects cables from abrasion and is also sound-absorbing.
After protecting the cables, I label each branch with a Dymo 4200 and yellow printable heatshrink and protect the printing with clear heatshrink.

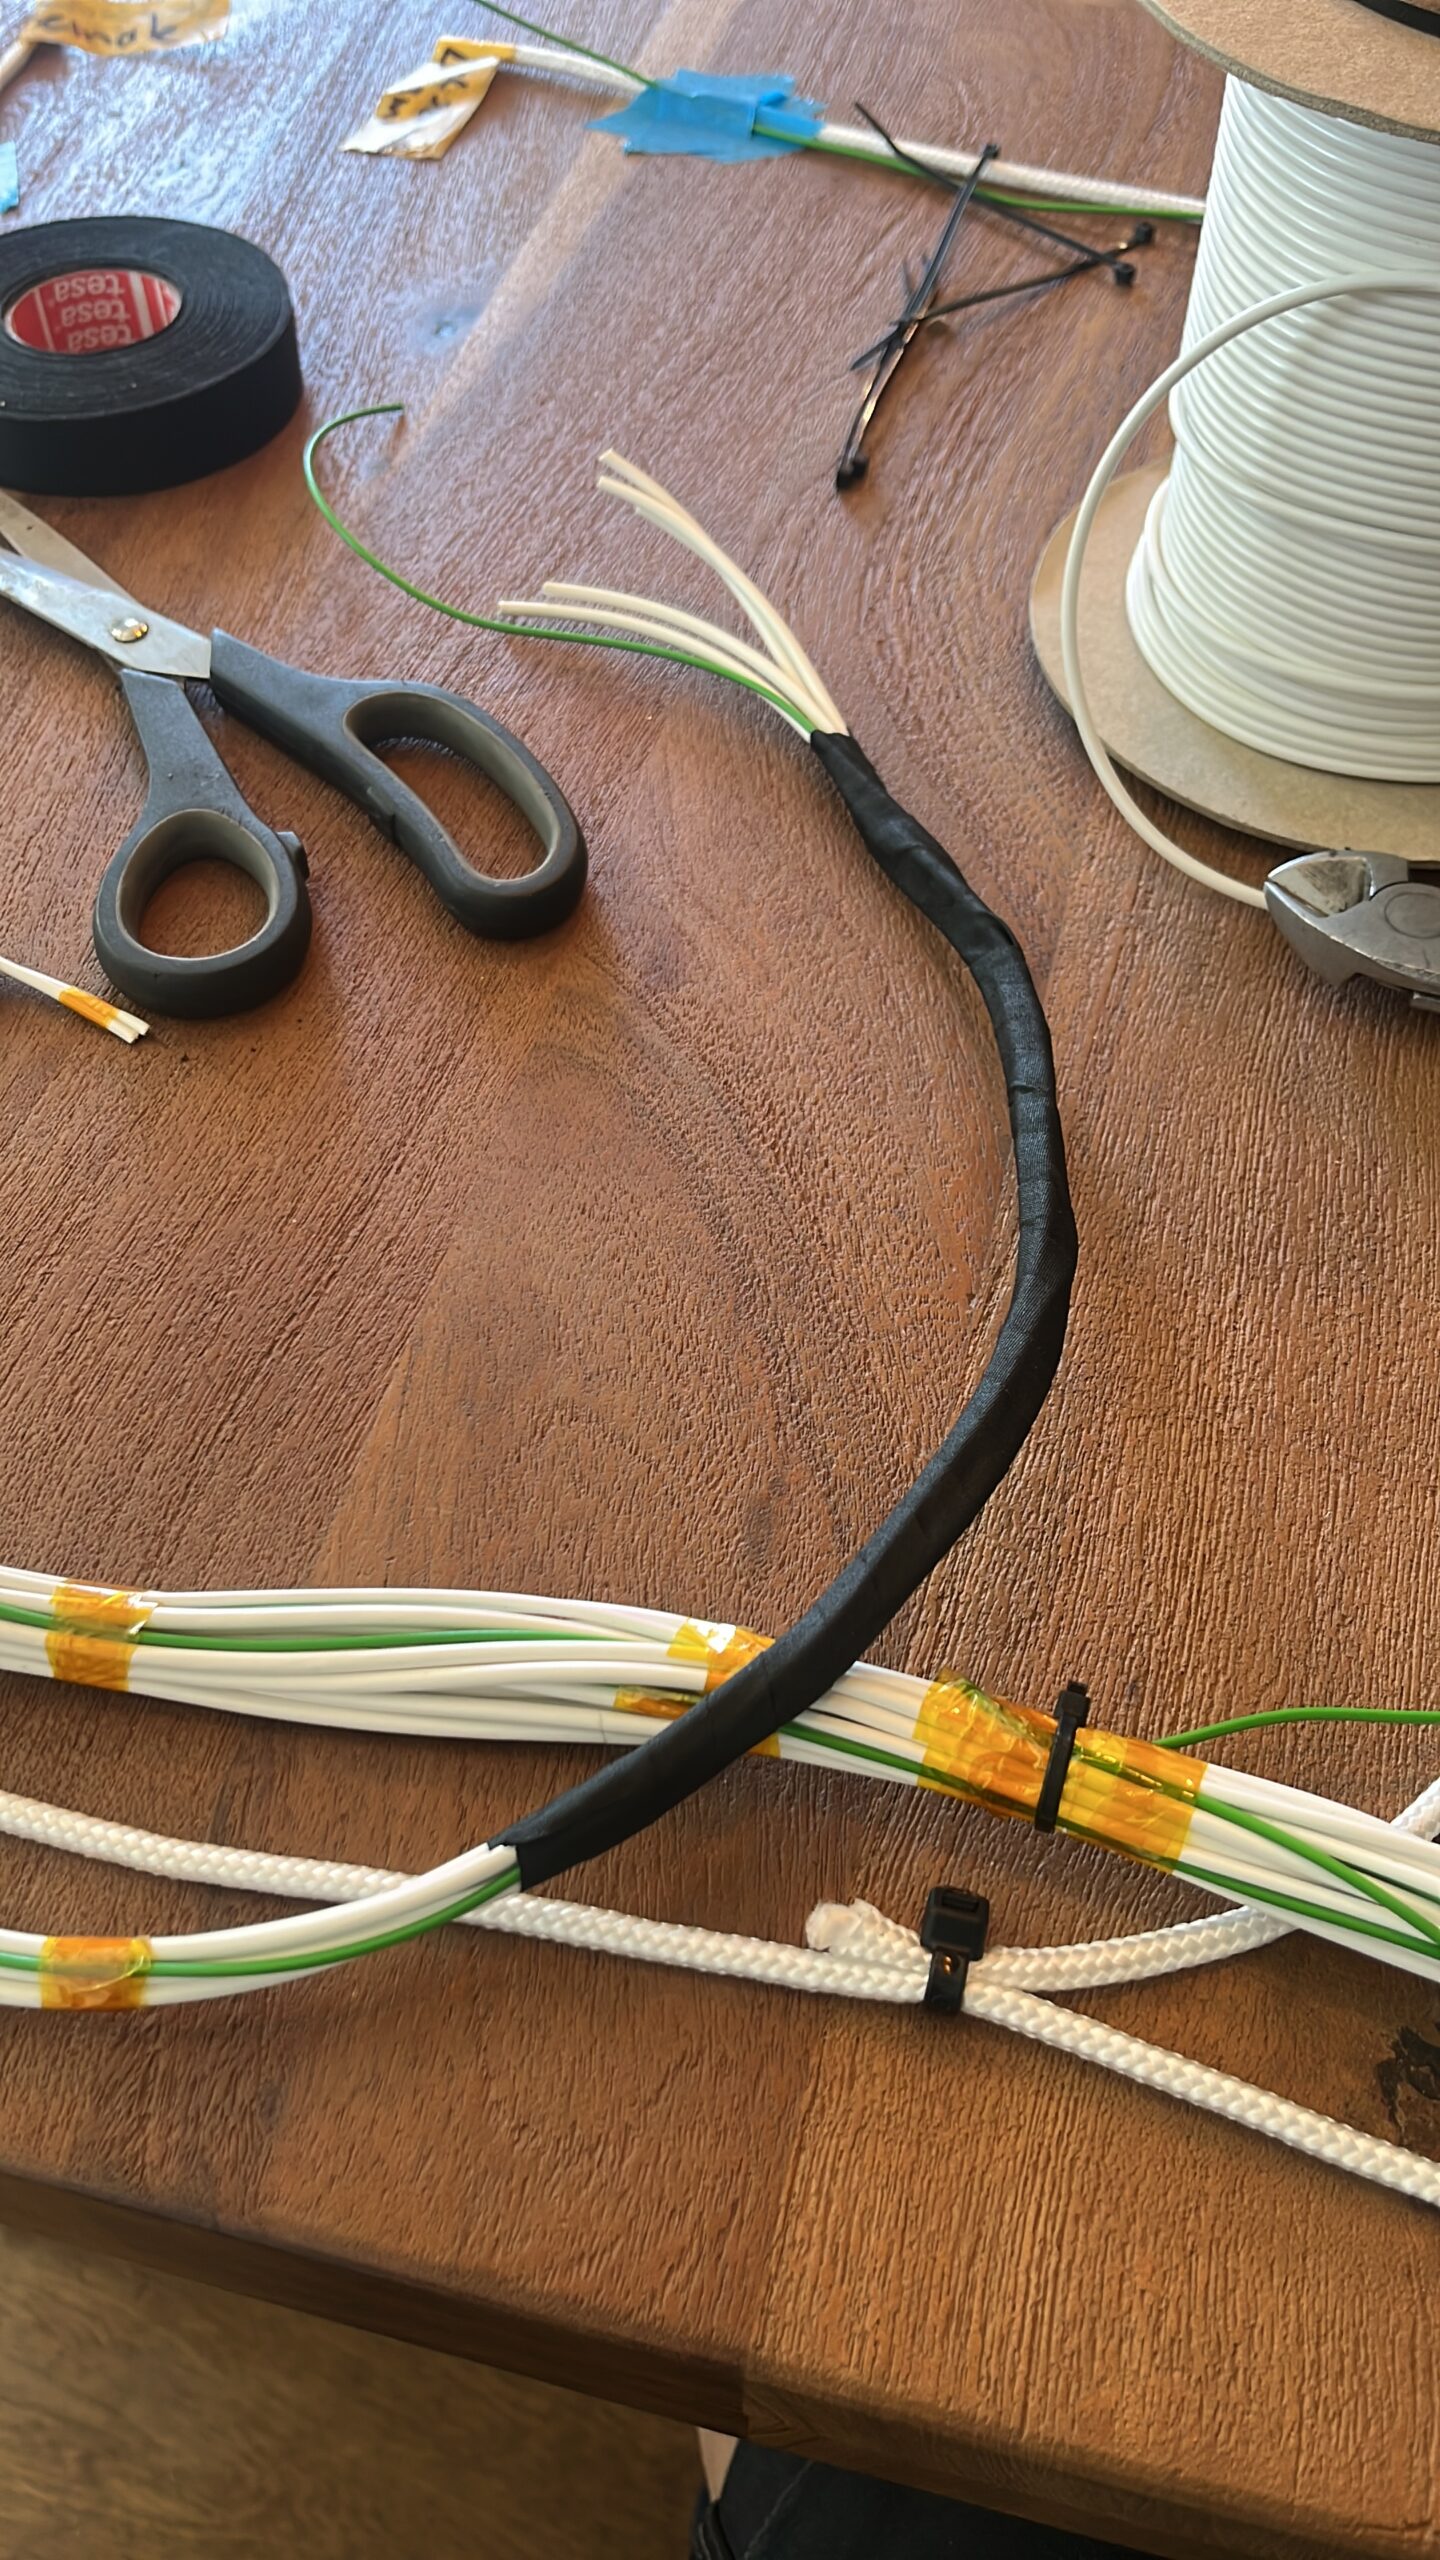

The choice is to use only white and green wire is quite simple. There are 39 inputs/outputs on the PMU, to use a different color for each channel makes the project astronomically more expensive.
In this case, white wires are for the power supply, green wires are a switch or sensor and black are the ground wires.
With a multimeter you can easily measure which wires belong in which with the spreadsheet in Excel. Proper documentation is therefore very important (even if you use different colors).

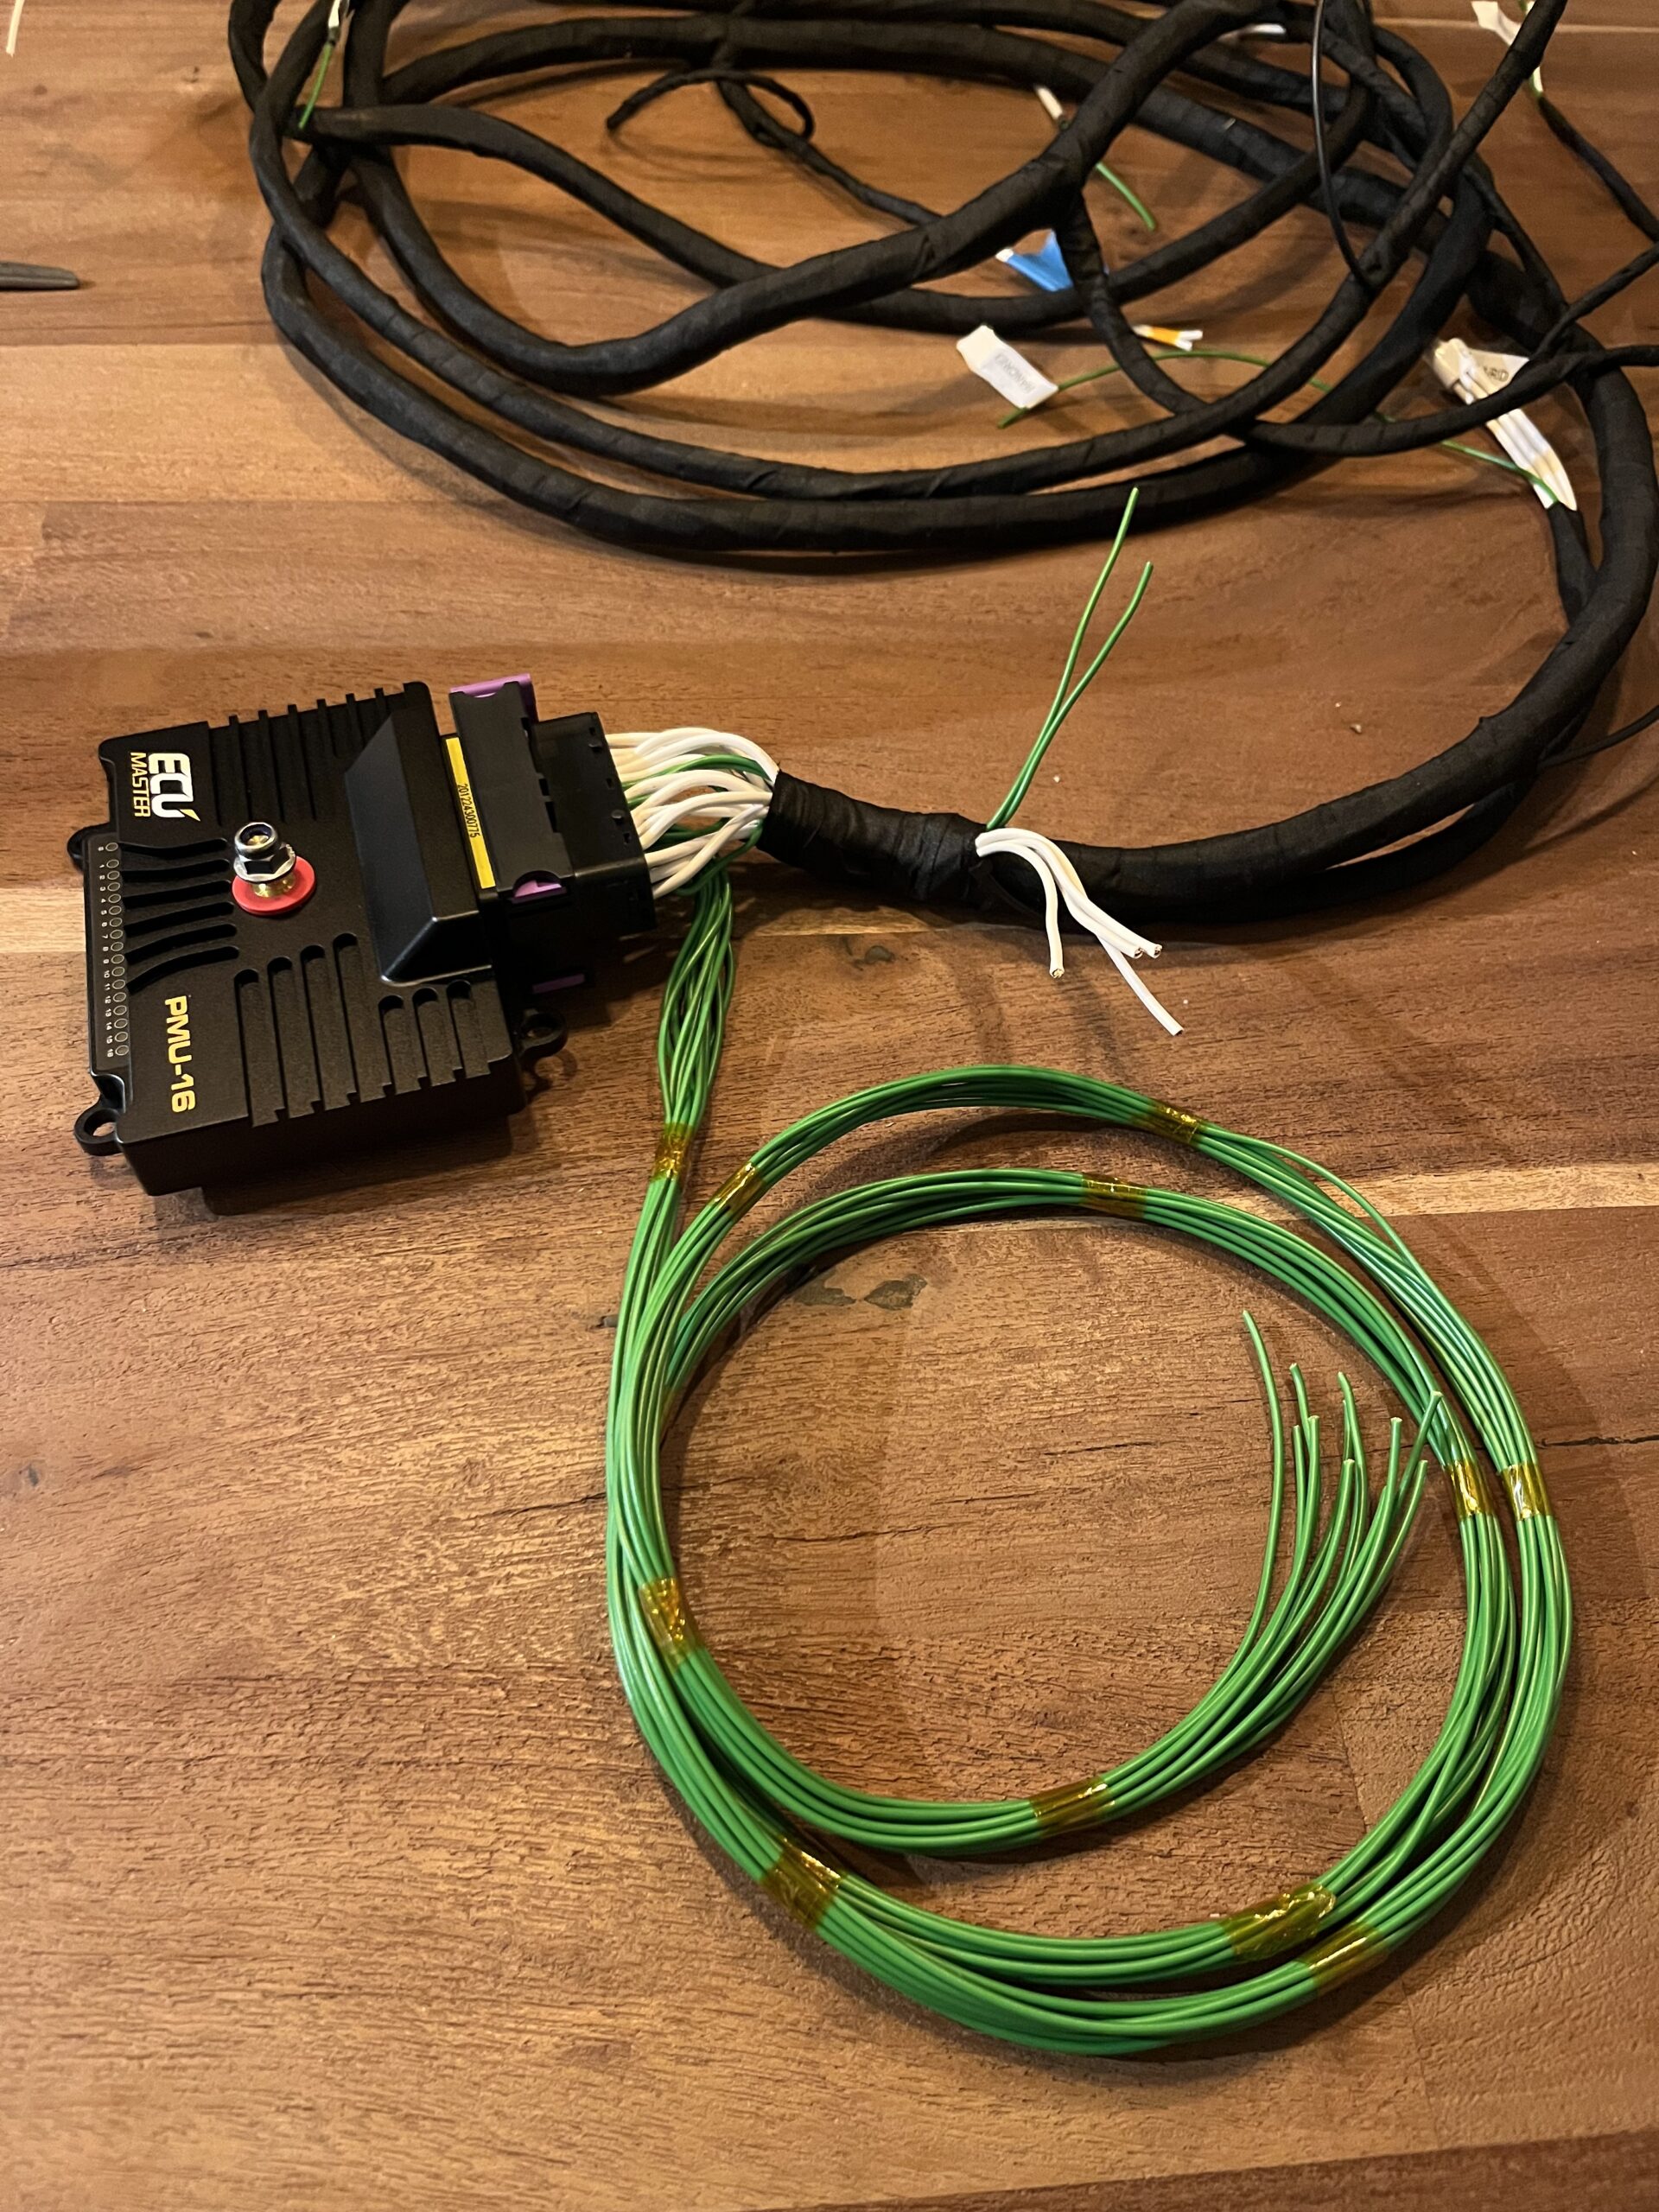

The wiring harness above is the one for under the hood. More protection was added here, all branching and cable ends were heat-shrunk with glue and to reduce stress on the cables at branching points zipper ties were used.
Next update: Rust recovery
There are still Deutsch connectors to be mounted and various small cable harnesses for use in the trunk, for example. This will probably be described in a future update. What will be addressed anyway is rust repair.


Over ons
Copyright © 2024 LucaCarMods met liefde gemaakt door RdV
